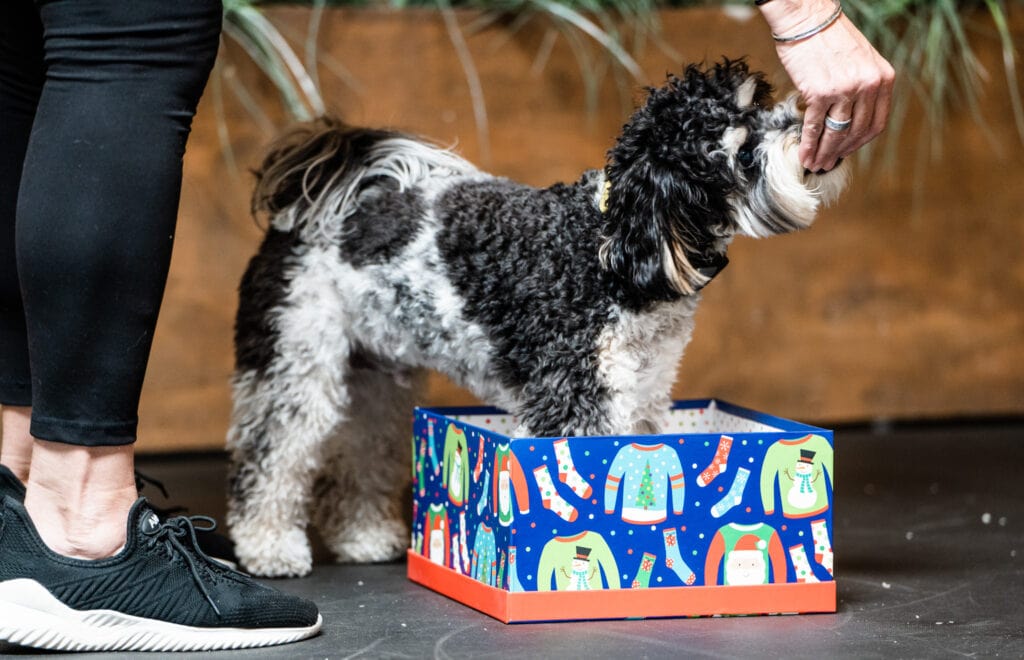
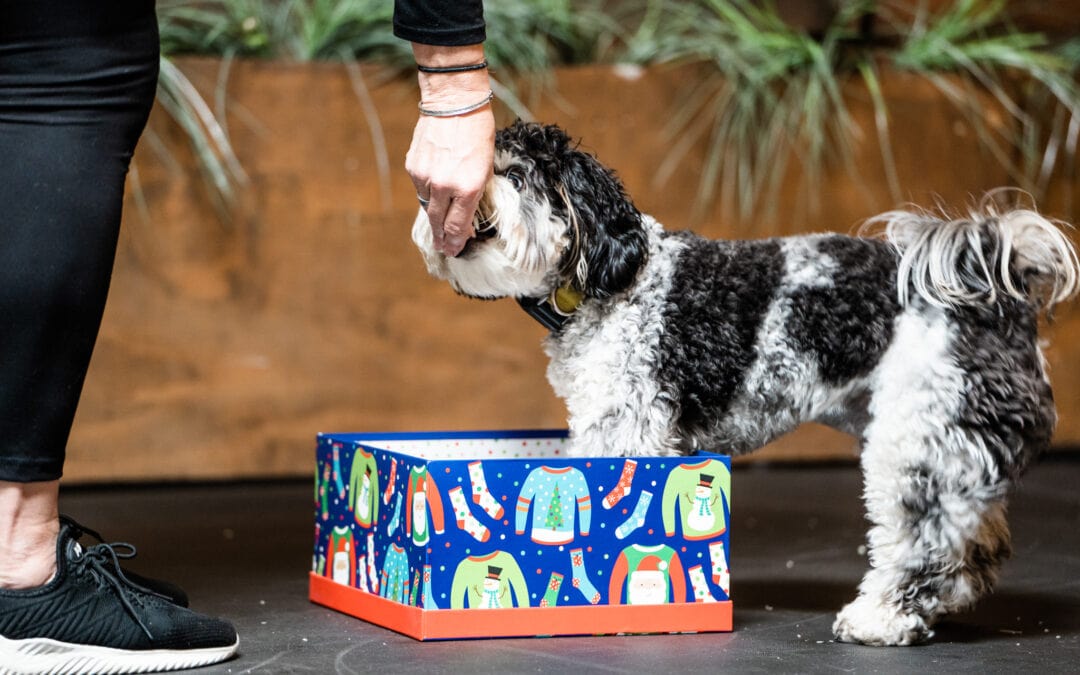
Teaching your dog how to put its paws in a box, is not only a trick you can check off your tricks list it’s always a great opportunity for you (the handler) to better your training skills by using shaping to teach this trick.
For the AKC trick title, they call this trick Get in a box and it’s a novice trick. AKC Novice tricks checklist Click here to download your list.
For Do More With Your Dog, this trick is called Paws in a Box and is also a novice trick. To see the list of tricks for DMWYD, Click here.
Using Shaping to teach Paws in a Box
Shaping is a way of building a completely new behavior.
Shaping games don’t just entertain your dog, they’re a great way to mentally stimulate your dog and help give both you and your dog a boost of confidence.
In shaping, you can gradually teach your dog a new action or behavior by rewarding it during each step of the process while learning that behavior. You can break up a potentially complicated action into smaller parts that your dog will learn and understand more quickly.
Working on the trick “Paws in a Box” is a great way to practice using shaping.
Mark the Behavior
Since you are going to want to reward your dog for small increments towards the goal behavior, you are going to want to let your dog know they’re on track. Marker training can speed up communication between you and your dog.
Marker is a sound/word (for example, “yes”) that is used to indicate that the dog has done a behavior that will earn a reward. It communicates to the dog that what they were doing at that exact moment was the right thing. A marker will be followed up by a reward.
Gives the dog the opportunity to offer the correct, desired behavior for a reward.
Marker training is a science/researched and is an effective, efficient way to teach dogs.
A Clicker versus Marker Word
A Clicker is a device that makes a distinct sound. The clicker has many advantages over words as used for a marker. Using a clicker is much more precise.
Load the Marker or Clicker
You’ll need to load your marker (word, signal, or clicker) before you start using a marker. How to teach your dog the meaning of a Marker signal or Clicker?
- With your dog in front of you, say the word (or click with the clicker).
- Immediately give your dog a treat.
- Repeat 10-15 times per training session over the next few days. You just want your dog to learn that the sound means a reward is coming!
- Next, when your dog is not looking at you say your marker word or click, and present food. If your dog looked towards you when you said your marker word or clicker, then they have made the association between the marker and the treat.
- Once they’ve made the association your marker is loaded and now you can use it for training.
Clicker Recommendations:
- Ruconla- 4 Pack Dog Training Clicker with Wrist Strap Click here
- SunGrow Clicker with wristband Click here
- Karen Pryor Clicker Training Terry Ryan Clik Stik for Pet Training Click here
Set up and Choose a Box for this trick
Like any new prop, the very first step is that you present the box in a safe room and your dog is given an opportunity to go check it out and determine that it’s safe. If you skip this step your dog may end up being afraid of the box or any prop and you may have a hard time working towards the goal of the trick. To do this place the box down on the ground, and sprinkle a few treats on and around the box. Step back and let your dog explore without hovering.
For this trick, all the equipment you need is a shallow cardboard box. The sides should be no more than three or four inches high. Some boxes come with a lid, and the lid can be a great choice when first teaching this trick.
The size of the box depends on the size of your dog and if you want 2 paws in or 4 paws in the box. The larger the surface, can make it easier is to start this trick. Once your dog has learned the trick and you have it on cue, you can switch to other boxes of a variety of materials and sizes.
Let’s get started…
Step 1: Attention to the Box
In a quiet room away where your dog feels safe, place the box on a slip-proof floor. The moment your dog looks at the box, mark (say your marker word or click) and reward. Place the reward directly in the box, to help build value to the box. Once your dog finishes the treat, toss a treat to reset your dog.
When you the turnaround and look towards the box, mark and again reward as you did before (directly in the box). Gradually wait for your dog to move toward the box before you mark the behavior. Repeat a couple of times before ending your session for the moment.
Step 2: Touching the Box
On your next training session, repeat the above step one time before moving on. In this step, you’ll be looking for your dog to touch the box in any way before you mark and reward. The moment they touch the box, mark, and this time reward by tossing the treat away from the box. Your dog can touch the box with their nose, paw, and mouth at this stage it doesn’t matter. Repeat a couple of times, before giving your dog the “all done” cue and giving them a break. Be sure to pick up the box when you are done with the training session.
Step 3: One Paw in the box

When your dog is reliably touching the box, it’s time to focus only on marking if your dog touching the box with their paw.
Present the box on the floor again and wait, and as soon as you see one paw touch the box, mark, and reward by tossing a treat. Tossing the treat resets your dog so you can do more repetitions.
When your dog turns around, be ready to mark when they return and put one paw in the box again. After a couple of reps, pick up the box and give your dog the “all done” cue. Take a break before you move on to the next step.
Step 4: 2- 4 Paws in the Box
Now that your dog has put one paw in the box, you can progress to two paws in the box. Then look for a third and finally a fourth (if you wish).
Back paws can be harder than front paws, so you may need to go slow and be patient so your dog doesn’t get frustrated.
Once your dog is doing the goal behavior (2 paws or 4 paws in the box), you’ll want to reward your dog in place with their paws in the box. From here you can add a little more duration in the box. To do this, when your dog has their paws in the box, mark the goal behavior and reward to your dog’s mouth. When you treat, offer 2-3 treats in a row or give them a longer treat while in place (paws in the box) and let them chew on it. This will help build a little duration in the box.
Remember to keep your sessions short. This will help keep your dog motivated and wanting to learn more. Set a timer for 1-2 minutes or count your treats before you start each session, so you can track your reps.
Step 5: Put the trick on the Cue
Now that your dog is going into the box reliably, you can put this trick on cue. A common cue for this is “box” or “go hide.” We do not add a cue to a behavior until the dog knows how to perform it without lures or prompts from you.
Cues should be able to be given consistently, distinct from other cues your dog already knows, not confused with praise or other meanings, and easy to transfer to others.
To add a cue to this trick, just before your dog puts their paws in the box, quietly say your cue word or make a subtle hand signal.
When the dog performs the trick, mark and then offer a treat. Then say your release cue, and toss an additional treat a short distance away so the dog gets up. This treat “resets” the dog so you can cue them again. As soon as your dog has finished eating, say your cue again. When they put their paws back in the box, mark, and reward. Repeat.
Continue the sequence of cue-behavior-mark-treat several times in a row.
Once you’ve done a few more practices and your dog knows this trick on cue, only mark and reward if you cue the trick.
Looking for something fun to do together with your dog?
Would you like to form a closer relationship and learn to communicate more clearly with your dog? Join our tricks and more classes.
During class, you will learn the foundation of how to break down complicated tricks into smaller-easier behaviors. Once you understand how to train tricks, the possibilities are endless as to what you can teach your dog.
To learn more, click here
About the Author: Yo Armendariz KPA CTP, CDTI, CSD


Yo Armendariz is the owner of Canine Learning Academy in Sunset Beach, California.
She has many years of experience training dogs and their humans as well as raising puppies in her home and is a graduate of the Karen Pryor Academy Dog Trainer Program. Karen Pryor Academy is a rigorous certification program that requires continuing education and a pledge to train using force-free methods and techniques.
She uses clicker training and positive reinforcement to solve problems and train dogs to a high level of training and specializes in training families that live in busy cities that want a well-mannered dog that can go everywhere and service dogs.
Share this post:

